Saturday, April 9, 2011

Recycle reuse refashion

I've been taking some time recently (in between shooting a wedding and a few other things) to get creative refashioning some of our clothes for our little boy.

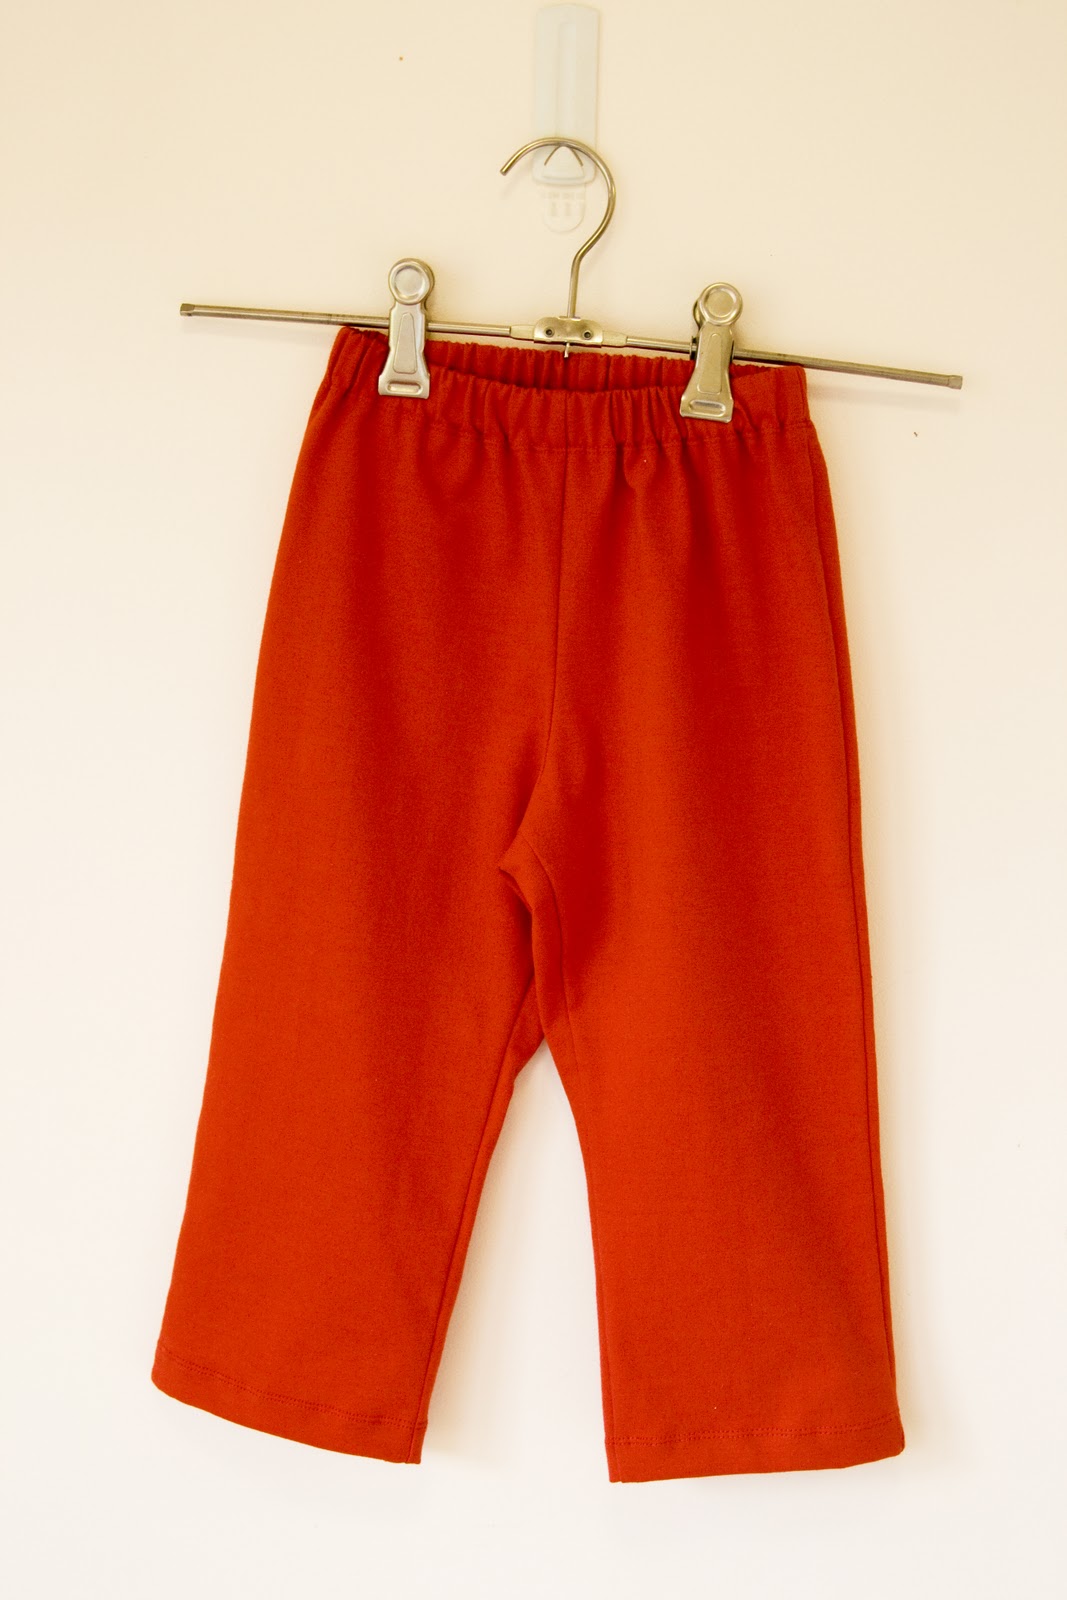
My husband had a CR knit jumper (sweater) that had a couple of wholes at the top, so he really couldn't wear it anymore. But it was such a beautiful soft knit, I just had to refashion it. Otherwise - what a waste!

I've used a hoodie pattern that I traced off another hoodie t-shirt top that I knew still fit my little boy. I cut the jumper along the seams and then laid all the pattern pieces out - using the end of the sleeves (they had a knitted cuff) and the bottom edge of the body of the jumper (again, a knitted cuff). I lined the hoodie with some navy blue t-shirt fabric and sewed the whole thing on the overlocker (serger). Quick, easy and the best part of all, reused a 100% wool jumper and created a warm, stylish hoodie for my little boy for winter.

The ironic part of all this creativity is...my two year old has grown again and it's almost too short in length already (sigh). Never mind - it was a good practice run. Now I'll be on the hunt for some more wool jumpers at the op-shop to recycle into more gorgeous clothes.

Wednesday, December 8, 2010

Red p.j. pants

 A few months ago I travelled up to Melbourne with my lovely and my toddler to the CBD and visited Tessuti Fabrics (we did do other things, but lets face it - visiting Tessuti was pretty exciting!).  They stock a range of Japanese pattern books. They are such simple clothes with clean-lines and a lovely minimalist edge to them that really appeals.

So, despite the fact that all the instructions are in Japanese (!) I bought one. I should point out that the instructions are also in really clear illustrations too, so it looked pretty straight foreward.My little boy needed some new p.j.'s, so I thought I'd test out one of the pants patterns. I used a red rugby knit (nice and soft) and tested out a twin needle on my regular machine. It worked a treat! I'm really pleased - it was quick and easy to make.

I used my overlocker/serger to sew the main structure of the pants and then, after overlocking the edges on the waistband and cuffs, used the twin needle to create the elastic casing and hems. The twin needle worked far better than the stretch stitch my sewing machine has and gave a real store-bought finish.

This pattern worked so well, I think I'll move on to the pants pattern with pockets. I've never made pants with pockets, but Novita, the author of one of my fav blogs, Very Purple Person, has a great tutorial on sewing pants with pockets, so it should be really straight forward.

But next...onto sewing a simple t-shirt p.j. top to go with the red pants. I'll post a photo when I've finished.

Happy sewing!

Tuesday, December 7, 2010

Road striped doona cover


After an unsuccessful search for a doona cover for my toddler’s bed, I decided to have a go at sewing one myself. It was so unbelievably easy! I’ll definitely make another in the future. I didn’t have a pattern but plenty of doona cover’s in the house to look out to work out how to make it. That and of course the basic dimensions of the doona itself. The fabric was a real gem - the stripes being brightly coloured roads all in a row. Needless to say, my little boy thought it great. 


Reversable Bag

Funny how you can suddenly find a use for some fabric you've had in your stash for an age. This black and white fabric I've had sitting there without a clue how to use it and then - free pattern inspiration from Very Purple Person and here it is - my version in black and white and red. What a great pattern! Really easy to put together and a great sized bag too.


I think I might make a couple for christmas gifts...

Tuesday, May 4, 2010

Shirt Quilt


It's only taken quite a few months, but I've finally finished my little boy's cot quilt. Made from some of my husbands old shirts and a good quality (yet unused) bed sheet. I had to buy some new homespun fabric for the reverse, to complete it. But I did use up the last of the bamboo wadding I had in my stash. It's a pretty special quilt - made by me - but with something.from his Dad too. Love that about it!

The ironic thing is though - my beautiful boy isn't as keen on it. Pretty funny really. He already has a blanket that he's become pretty attached to recently and the new one just doesn't cut it, compared to the love he already has for blanket number one! Ah well, can't do much about it! I'm still using it in his cot - but it goes over the top of his other blanket.

I've started a single bed quilt for when he moves into a big bed - so hopefully that one will be a bit more popular!

Saturday, March 6, 2010

Something old is new again...


Last summer, on yet another op-shopping expedition, I came across a strappy, halterneck dress that I thought would be just great for a long hot season.
But once I got it home and put it on again, this time in some good light (!), the colour just didn't work for me at all. So, not wanting to waste it - I put it away in the refashioning cupboard and promptly forgot about it.

Last week, I came across the dress again and decided that I could rework it into a lovely skirt for my niece, Miss A, who is very girly and loooves a 'pretty dress'.

So, into my fabric stash I ventured and sourced some white spotted quilting fabric - for a skirt lining. The straps on the dress I reused as a tie for the front or back of the skirt, plus a little elastic for the back. I wanted the front of the skirt to be smooth, with all the elastic action at the back at waist level.

It was pretty easy to construct, as all the pieces were rectangles which I cut out using my quilting matt and rotary cutter. Very easy!


I still have half a dress to reuse...not sure yet what that will become. Anyone got any ideas?

Tuesday, February 16, 2010

Ready to hang kiddy artwork


I love getting a gorgeous paper bag when out shopping for clothing! Somehow feels a little special when you leave the store swinging your purchase in something other than a plastic bag.

I do look at these bags when I get home and wonder about how to reuse them, without the usual throw them into the yellow bin. But I've had an idea... (This probably isn't new - but it was a new idea to me so I thought I'd share it).

Any bag that has an internal surface that looks like it could be drawn on with crayon's or painted, I open up carefully and cut down one side of the bag. Then I divide up front from back and there you have it - an instant canvas for kiddy drawing or painting. But the best part is, each artwork has a ready made loop for hanging!

This has worked really well so far for my little boy's scribbly drawings (we're working on drawing circles at the moment - lot's of fun!). I've also been looking ahead and preparing for future Picasso paintings by the little boy and have been cutting up "canvases" from cereal boxes.

So in future when I come home occasionally with a lovely shopping bag, they'll be a little less guilt as I contemplate all the possible artworks to come!